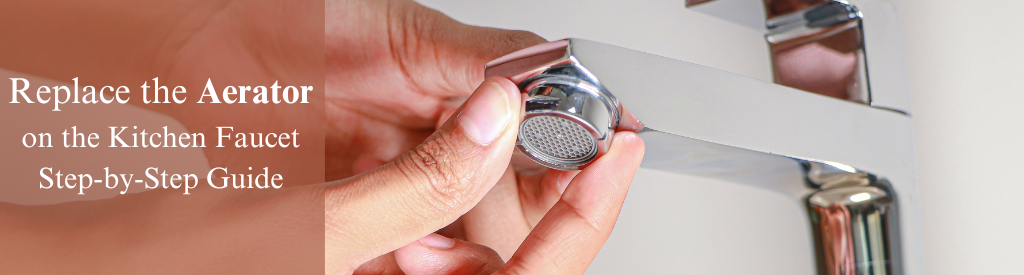
How to Change the Aerator on Kitchen Faucet: Step-by-Step Guide
A sink aerator or an aerator is a round mesh disk used against the outlet of the faucet to prevent harmful germs, debris and other pollutants from getting mixed with your water. On top of that, they also allow your water to flow in a single stream. So, you know an aerator is a great addition because it allows you to make a sustainable and smart choice, all in one.
Why is an Aerator Important for a Faucet?
An aerator has a myriad of advantages. Some of them are:
- Water Conservation: Aerators mix air with the water flow, creating a steady stream while reducing water usage. This helps in conserving water and making taps more environmentally friendly.
- Reduced Splashing: The aerator helps to reduce splashing by breaking the stream of water into smaller droplets. This prevents water wastage and keeps the surrounding area dry and clean.
- Smooth Flow: Aerators ensure a consistent and smooth flow of water, which is particularly useful for tasks like washing hands or dishes, where a steady stream is needed.
- Preventing Clogs: Some aerators are equipped with screens or filters that capture debris and sediment present in the water. This helps prevent clogging of the tap and ensures the longevity of both the tap and the plumbing system.

Tools Required to Remove Faucet Aerator
To remove the aerator, you need the following tools:
- Pliers (or adjustable wrench)
- Old Clothes
- Small Bowl
- Vinegar
- Old Toothbrush
Steps to Change the Aerator in a Faucet:
Replace The Aerator: Close the faucet and let it dry. Move the aerator counterclockwise. Turn the collar counterclockwise with your fingers. If you cannot get a good enough grip on the collar, wet a washcloth and hold this over the collar as you turn. The damp washcloth will provide more friction than a dry one will.
Install The New Aerator: Discard the old aerator and install the new aerator. Make sure all the parts are in place and the mesh side is facing downwards. Screw it around tightly.
Place The Aerator Gasket: Place the casket over the aerator, within the faucet collar.
Complete The Assembling: The hole side of the aerator should face upwards towards the gasket and will only work with the gasket on.
Screw It in Place: Screw the aerator around the mouth of the faucet and move it clockwise. Do not over-tighten. Open the faucet to check.
You May Also Like to Read:
Ball Cock – Exploring the Mechanism in Modern Plumbing
The Stainless Steel Kitchen Sink: A Comprehensive Guide to Pros and Cons
FAQs
- Are all Faucet Aerators Removable?
No, some are inbuilt and some are removable. LIPKA faucets come with an inbuilt aerator that can be changed as per requirement.
- Do all faucets have aerators?
Modern faucets are equipped with aerators. If not, you can also purchase manually from outside and follow the instructions above to fit your aerator into your faucet.