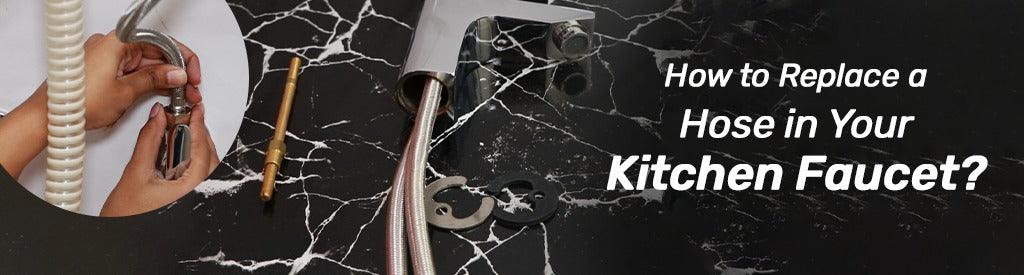
How to Replace Water Supply Line in Faucet?
Replacing the water supply line in your faucet is a straightforward DIY project that can save you the cost of hiring a plumber. With a few simple tools and steps, you can ensure a smooth and leak-free installation of faucet supply line. Let's get started!
Primary Steps to Follow (Things You Need to Do Before Starting the Replacement)
1. Clean Your Work Area
Start by clearing out the space under your work area like kitchen sink or bathroom basin. This gives you ample room to work and ensures your tools and new connection pipe are easily accessible.
2. Shut Off Water Supply
Locate the shut-off valves under the sink and turn them clockwise to cut off the water supply to your faucet. This is a crucial step to prevent water from gushing out when you detach the supply line.

3. Drain Excess Water from the Pipes
Open the faucet to release any water remaining in the pipes. This step helps in reducing the mess when you disconnect the supply line.
Detach the Old Supply Line
4. Detach the Supply Line from the Water Supply
Use an adjustable wrench to loosen the connection between the connection pipe and the water supply. Be gentle to avoid damaging the valves.

5. Detach the Supply Line from the Faucet
Similarly, detach the other end of the supply line from the faucet. You might need a basin wrench for this step, depending on your faucet's design.

Prepare for the New Supply Line
6. Purchase a New Supply Line with the Same Measurements
Measure your old supply line and buy a new one with the same length and connector size. Compatibility is key for a successful replacement.

7. Dry and Tape the Threads
Before attaching the new connection pipe, ensure the threads on the faucet and water supply valves are dry. Wrap plumber's tape around these threads to ensure a secure and leak-free connection.
Install the New Supply line
8. Attach the Supply Line to the Faucet
Thread the new supply line onto the faucet. Hand-tighten it first, then use the wrench for a final snug fit.

9. Attach the Supply Line to the Water Supply
Connect the other end of the supply line to the water supply in the same way. Ensure it's tight but don't over-tighten as this can damage the threads.
Final Steps
10. Turn on the Water and Test the Supply Line
Turn the shut-off valves back on and check for leaks. Open the faucet to test the flow and observe any drips around the connections. If there are leaks, slightly tighten the connections.

And there you have it! You've successfully replaced the hose in your faucet. This DIY task not only enhances your home maintenance skills but also ensures that your home plumbing is functioning efficiently. Remember, regular checks and maintenance can prevent future leaks and save on water bills. Happy DIY-ing!

You May Also Like to Read: