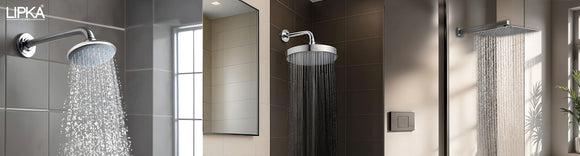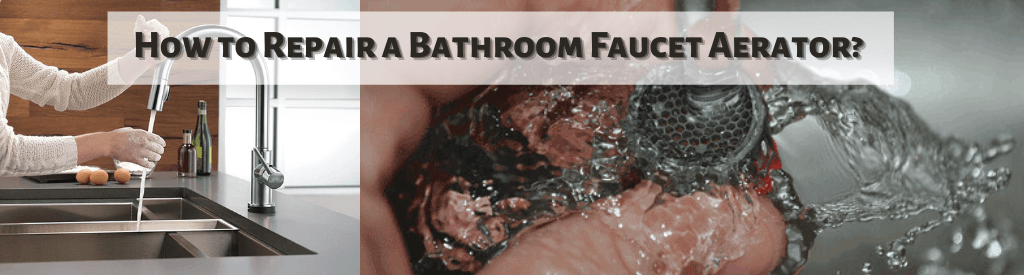
How to Remove/Repair a Bathroom Faucet Aerator?
There are numerous elements that come together in bathrooms to make using them more comfortable, but you might not have noticed them. One of them is the faucet aerator, and it's crucial to maintain such components to keep the bathroom's alignment consistent. Most kitchen and bathroom faucets have a fitting called a faucet aerator at the very end. This fitting creates a smooth spray of countless tiny water droplets by adding air to the water as it flows through the aerator faucet. Additionally, the sink water tap aerator controls water flow.
Things to Consider Before Proceeding
Although cleaning a tap aerator is a straightforward process that even novice do-it-yourselfers can handle, you must still take care to avoid injuring the aerator or losing any pieces of this fitting during dismantling or reinstallation.
Procedure to Repair Bathroom Faucet Aerator
Step 1: Take away the Aerator from the Faucet
Your faucet will have an aerator attached to the end. By firmly holding it and twisting it in a clockwise manner, you can loosen the aerator. Use a pair of tongue-and-groove pliers to carefully hold the aerator and crank it clockwise if trying to loosen it by hand results in no movement. Remember that if you exert too much pressure, the metal teeth on the pliers could harm the aerator's exterior.
A buildup of mineral deposits may have caused the aerator to seize if you have been unable to remove it from the faucet. By putting vinegar in a tiny plastic bag, tying the bag to the end of the faucet, and submerging the aerator, you can still clean the components. Try removing the aerator once more after letting it soak.
Step 2: Check for remains and dismantle the Aerator
Remove the aerator and look inside for any debris from hard water or any built-up residue that might be holding the components together. To release the components of the aerator, gently scrape away any mineral deposits with your finger or a small screwdriver. Once unlocked, you can disassemble the aerator. To make sure the pieces are reassembled in the right sequence, take pictures while you separate the sections. To prevent losing the pieces, store them in a secure location.
To disassemble the aerator and clear out any debris caught in the threads or obstructing the screen holes, use a toothpick or another small, thin instrument to aid.
Step 3: Clean all the loose Residue and soak the aerator in vinegar
Rinse each aerator component well, then look for any indications of major damage. It is advised to completely replace this fitting if the aerator's internal parts are damaged. Simple cleaning won't be enough to get it back to working properly. There will be some dirt and filth that cannot be washed off the aerator parts. You should instead follow the same steps you would if you were learning to clean a faucet head.
Bring a bucket and perhaps other containers with enough white vinegar to encompass the entire aerator parts. Place the aerator parts in the container and wait 20 to 30 minutes for the vinegar to break down the stubborn residue
Step 4: Clean the aerator with a toothbrush
The majority of the dirt and mineral buildup should have been removed when the aerator parts were soaked in vinegar, but you can use an old toothbrush to scrape the parts to make sure the fitting is fully clean.
To check for any lingering debris, hold the screen and mixer up to the bathroom light. A toothbrush's hard bristles have the ability to penetrate tight spaces and crack apart any residual pieces. To prevent breaking the pieces, move slowly.
Step 5: Clean, put it back up, and insert the aerator.
Before carefully reassembling this fitting, turn on the faucet to thoroughly rinse each aerator component. To make sure the pieces are reassembled in the right order, use the images you took during disassembly. You can reinstall the aerator on the faucet once it has been put back together.
The aerator should be gently threaded into the faucet's end using your hands. Tighten the fitting by rotating counterclockwise. To check the water flow, turn on the water. The aerator may only need to be hand-tightened, but if any water sprays or gushes out of the fitting's side, use a wrench to finish the job.
Author Suggestions
Whether or whether not the aerator will function well in the end completely depends on the quality of the faucet. It is recommended to choose the greatest quality available on the market if you want a faucet aerator that will endure for a long time because frequent maintenance of the aerator shows lower quality.
On its website, LIPKA provides a large selection of faucets in premium quality brass ingot. Visit our website to go through a wide selection of high-quality kitchen and bathroom fixtures.